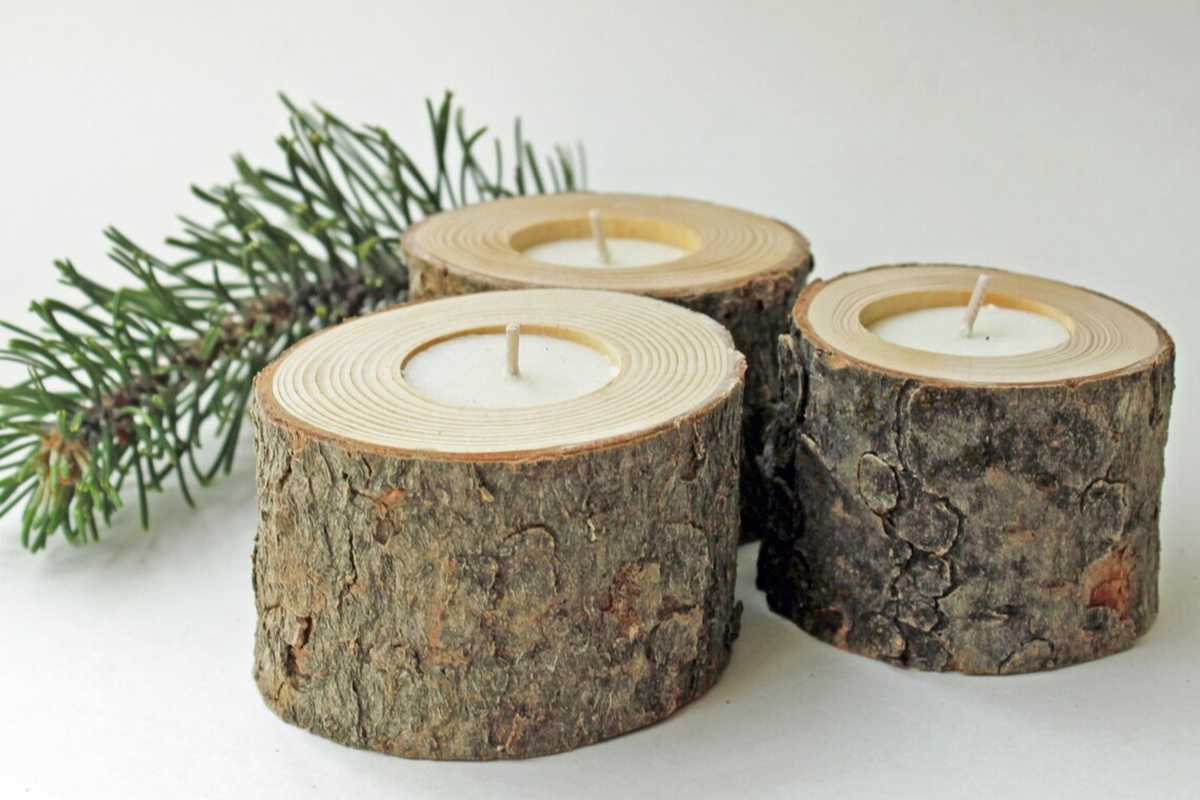
Making a tea-light candle holder is a fun and creative project that anyone can do. It’s simple, requires minimal materials, and you can add your personal touch to it. Here’s a straightforward guide to help you make your own tea-light candle holder.
Materials Needed:
- Clay or air-dry clay
- A tea-light candle (for sizing)
- Rolling pin or any cylindrical object
- Knife or carving tools
- Sandpaper (optional)
- Paints and brushes (optional)
Step 1: Prepare Your Workspace
Before you begin, make sure your workspace is clean and spacious. Cover your working area with newspaper or a cloth to protect it from clay stains or paint spills.
Step 2: Roll Out the Clay
Take a lump of clay and roll it out using a rolling pin or any cylindrical object like a bottle. You want to achieve an even thickness, about 1/4 inch, so your holder isn’t too fragile or too bulky.
Step 3: Cut and Shape
Now, it’s time to shape your holder. You can go for a simple circular shape or be more creative with different geometric shapes. Use a knife or carving tools to cut the clay into your desired shape. Remember to make it slightly larger than the tea-light candle for a snug fit.
Step 4: Create a Space for the Candle
Press the tea-light candle gently into the clay to create an impression. This marks where the candle will sit. Carve out the clay within this impression to a depth where the candle can sit comfortably, with its top flush with the clay surface.
Step 5: Smooth and Refine
Once you’ve cut out the shape and created a space for the candle, smooth the edges and surfaces. You can use your fingers, a small piece of damp sponge, or even a bit of water to help smooth the clay.
If you’re using air-dry clay, let it dry as per the instructions on the package.
Step 6: Sanding (Optional)
If the edges or surface are still a bit rough after drying, you can gently sand them. Be careful not to sand too aggressively, as you might damage your candle holder.
Step 7: Painting (Optional)
This is where you can get really creative. Once your holder is dry and smooth, you can paint it. Use acrylic paints for the best result.
You can go for a simple, elegant look with a single color or create intricate designs and patterns.
Step 8: Seal and Finish
If you’ve painted your holder, let the paint dry completely. You might want to apply a sealant to protect the paint and give it a nice finish. There are various sealants available, like a spray-on or brush-on type.
Step 9: Insert the Candle
Once your holder is completely dry and finished, place the tea-light candle into the space you carved out. And voila! You’ve created your very own tea-light candle holder.
Conclusion
Making a tea-light candle holder is a simple and enjoyable project. It’s a great way to relax and unleash your creativity. Plus, it results in a beautiful, handmade item that can add a cozy ambiance to your home or be a thoughtful, personalized gift for someone special.
Remember, there’s no right or wrong in creativity, so have fun with it!
