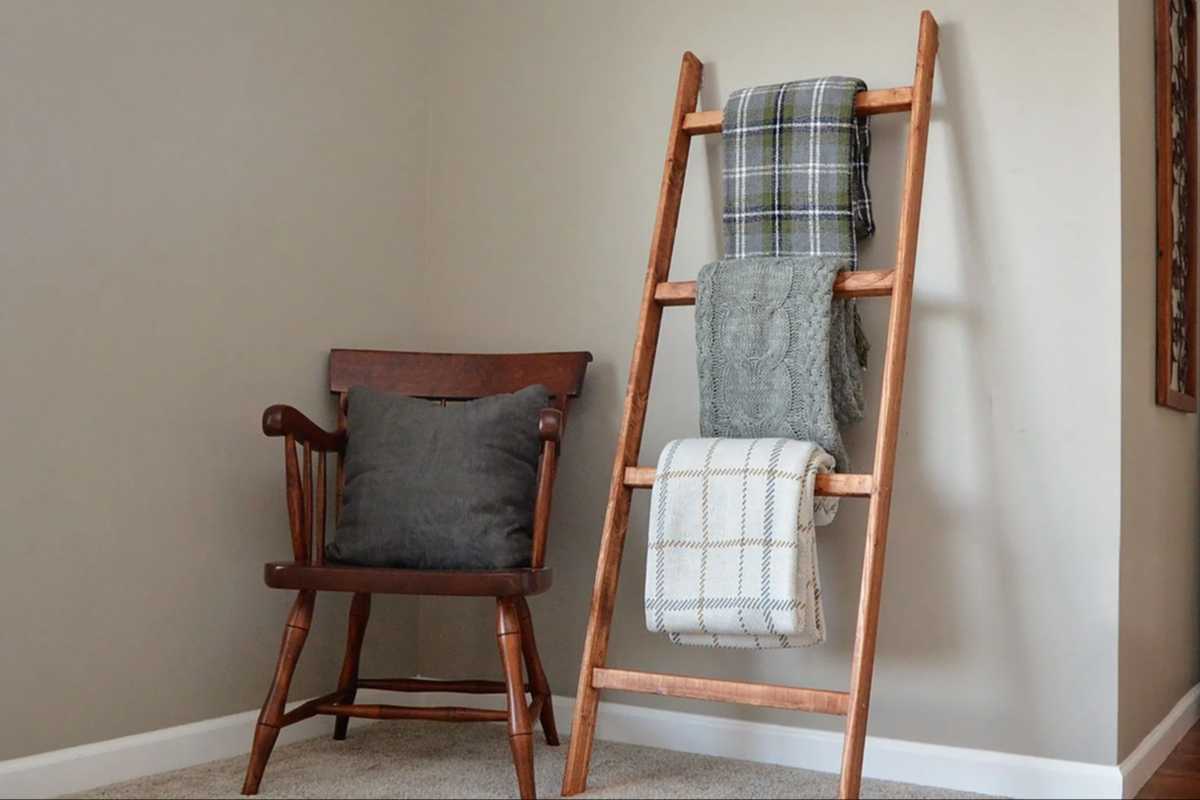
Are you looking for a cozy and stylish way to display your blankets? Why not make your blanket ladder instead? It’s actually easier than you think, and I’m here to guide you through each step. No need for fancy words or complicated tools – let’s keep it simple and fun!
Before anything else, here are the materials that you’ll need:
- Two 6-foot wooden dowels (1×3 inches) for the sides
- Four 18-inch wooden dowels (1 inch in diameter) for the rungs
- Wood glue
- Screws (1 ¼ inch)
- Sandpaper (medium and fine grit)
- Paint or wood stain (optional)
- Drill with a drill bit (slightly smaller than your screws)
- Measuring tape
- Pencil
- Level
Once you’ve readied all of the required materials, it’s time to take a look at the steps involved. These are as follows:
Step 1: Sand Your Dowels
First things first, let’s smooth things out. Grab your sandpaper and give all your dowels a good sanding. Start with the medium grit to get rid of any rough spots, then switch to the fine grit to make everything smooth.
This step is crucial for a polished look and to prevent splinters.
Step 2: Mark Your Ladder Sides for Rungs
Now, let’s figure out where your rungs will go. Take one of the 6-foot dowels and measure 12 inches from the bottom – that’s where your first rung will be. Mark it with your pencil. Then, measure and mark every 12 inches up the dowel for the remaining rungs.
Repeat this on the other 6-foot dowel while making sure the marks align.
Step 3: Drill Holes for Screws
It’s time to drill! At each pencil mark, drill a hole slightly smaller than your screws. This pre-drilling step helps to prevent the wood from splitting when you insert the screws.
Step 4: Attach the Rungs
Apply a bit of wood glue on the ends of your 18-inch dowels (these are your rungs). Align them with the drilled holes on one of the 6-foot dowels, and screw them in place from the outer side.
Make sure they’re level. Repeat this on the other side with the second 6-foot dowel. Now, your ladder is starting to take shape!
If you see any rough edges or splinters after attaching the rungs, give them a quick sand.
Step 5: Paint or Stain (Optional)
Want to add some color or a rustic touch? Now’s the time to paint or stain your ladder. This step is totally optional, but it can add a nice finish to your project. Let it dry completely before moving on.
Step 6: Final Touches
Once everything is dry, give your ladder a once-over. Make sure all screws are tightened, and there are no rough edges. If it wobbles, make sure all rungs are level and adjust as necessary.
Step 7: Enjoy Your Blanket Ladder!
Congratulations, you’ve made a blanket ladder! Lean it against a wall in your living room or bedroom, and artfully drape your favorite blankets over the rungs. It’s not just practical storage, it’s a piece of decor that you made yourself.
Some Quick Tips:
- If you’re not into power tools, most hardware stores can cut the wood for you.
- Always measure twice before cutting or drilling – accuracy is key!
- Personalize your ladder with unique colors or by adding decorative elements.
Building a DIY blanket ladder is a simple and rewarding project. It adds a cozy touch to any room and keeps your blankets neatly organized. Plus, every time you look at it, you’ll feel proud knowing you made it yourself. Happy crafting!
